The Best Tools For React Development (June 2020)
Table Of Contents
After you decided to proceed with React, there are many libraries that will help you to speed up the development process.
Choosing the right ones is crucial for the project's success.
To begin with, it's necessary to know exactly what is the size of the project.
Is it going to be a small one? medium? big?
The technology stack, chosen for each project size can differ. It's generally a bad idea - to install a library which provides thousands of functions just to use a few of them.
Large libraries tend to increase the application's size which leads to poorer performance.
Having that in mind, let's assume we are dealing with a medium-sized project.
CRA (create-react-app)
First and foremost, you have to decide if you are going to use the boilerplate (provided by the React team - create-react-app or any other available) or set up the project by yourself.
Unless you are en experienced React developer, I recommend using CRA.
Creating React application using CRA is as simple as executing one command:
npx create-react-app my-app
Where my-app is your application's name.
After the installation process completes, start the project:
yarn start
Finally, the browser will open http://localhost:3000/ and the React application will be up and running:

Refer to the official documentation to read more.
TypeScript
Typescript is a programming language developed by Microsoft, a typed superset of JavaScript which is compiled to plain JavaScript.
After setting up the project, you have to make an important decision - whether you need types in the application or not.
Generally, it's a good idea to include typescript as it gives you a lot of benefits, like enhancing code readability, allowing to catch code errors in compile-time, easier refactoring, and much, much more.
If you are using create-react-app, you can easily add typescript at the moment of creation:
npx create-react-app my-app --template typescript
Or to the existing application, built with CRA:
-
Install typescript
yarn add typescript @types/node @types/react @types/react-dom @types/jest - Rename any file to be a typescript file (for example
src/index.jsxtosrc/index.tsx) and restart your development server - Enjoy the typescript!
Read more about typescript here.
Styled Components
Styled Components is the library that enables writing of CSS in JavaScript using tagged template literals.
CSS in JavaScript is a styling technique, where you use JavaScript code to define CSS styles.
CSS in JS solves some errors, which couldn't be solved earlier due to CSS limitations:
- Eliminating globals
- Easily eliminating dead code
- No class name bugs
- State-based styling
Install the library:
yarn add styled-components
Important note: if you are using typescript, don't forget to install types as well: yarn add @types/styled-components.
See the example usage of Wrapper styled component:
import React from "react";
import styled from "styled-components";

const Wrapper = styled.div`
  display: flex;
  flex-direction: column;
  height: 100%;
  width: 100%;
`;

const Loader = () => (
  <Wrapper>
    <div class="lds-ring">
      <div></div>
      <div></div>
      <div></div>
      <div></div>
    </div>
  </Wrapper>
);

export default Loader;
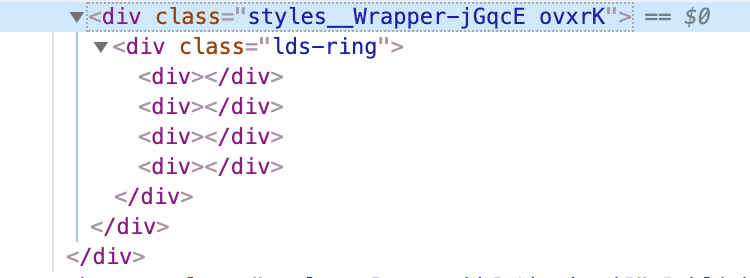
Wrapper is just a div element with randomly generated class name and styles applied:

To read the installation guide, please refer to the official documentation.
Jest + Enzyme
It's good practice - to cover all your components with unit tests to be sure that adding new features won't break any of the existing ones.
Jest is a JavaScript test runner, library for creating, running, and structuring tests.
If you're using CRA, jest will already be installed and configured, if not - you have to install it manually:
yarn add -D jest
Read the official documentation to find out how to use it.
Enzyme is a JavaScript Testing utility for React that makes it easier to test your React Components' output. You can also manipulate, traverse, and in some ways simulate runtime given the output.
To install enzyme, run:
yarn add -D enzyme enzyme-adapter-react-16
As of Enzyme 3, you will need to install Enzyme along with an Adapter corresponding to the version of React you are using. (The examples above use the adapter for React 16.).
After a successful installation, you have to configure the adapter in the global setup file. Create src/setupTests.js with the following content:
import { configure } from 'enzyme';
import Adapter from 'enzyme-adapter-react-16';

configure({ adapter: new Adapter() });
If you're using CRA, then modifying the existing file src/setupTests.js will be enough.
If not, you have to let jest know the path to this file.
Open your package.json and add a new section to it with the following content:
"jest": {
  "setupFilesAfterEnv": ["<rootDir>/src/setupTests.js"]
 }
That's it! Now you have everything configured to write your first unit test:
import React from 'react';
import { shallow } from 'enzyme';

import App from './App';

it('renders welcome message', () => {
  const wrapper = shallow(<App />);
  const welcome = <h2>Welcome to React</h2>;
  expect(wrapper.contains(welcome)).toEqual(true);
});
The test above is just an example, it checks if the App component contains a welcome message.
Please, refer to the official documentation to read more about Enzyme.
ESlint
ESLint is a tool for identifying and reporting on patterns found in JavaScript code, intending to make code more consistent and avoiding bugs.
It's extremely useful when there are a lot of developers working with the project, as it allows to have one centralized code style configuration.
Important note: we cover the installation process assuming that typescript is used.
To install eslint along with all necessary libraries for react, run:
yarn add -D eslint eslint-plugin-react eslint-plugin-react-hooks @typescript-eslint/eslint-plugin @typescript-eslint/parser
- eslint - the core JavaScript linter
- eslint-plugin-react - React specific linting rules for ESLint
- eslint-plugin-react-hooks - This ESLint plugin enforces the Rules of Hooks
- @typescript-eslint/parser and @typescript-eslint/eslint-plugin - an ESLint-specific plugins which allow for TypeScript-specific linting rules to run
After the installation, create a new file named .eslintrc in the root folder of your app and put the following content inside:
{
  "env": {
    "browser": true,
    "jest": true
  },
  "root": true,
  "parser": "@typescript-eslint/parser",
  "parserOptions": {
    "ecmaFeatures": { "jsx": true }
  },
  "extends": [
    "eslint:recommended",
    "plugin:@typescript-eslint/eslint-recommended",
    "plugin:@typescript-eslint/recommended",
    "plugin:react/recommended"
  ],
  "rules": {
    // Configure eslint rules
  }
}
And the final step is to add 2 scripts to the package.json file:
"lint": "./node_modules/.bin/eslint ."
"lint:fix": "./node_modules/.bin/eslint --fix ."
The first script checks if all your files meet the specified criteria and throws errors in the terminal, if not.
The second one does the same job, but it also tries to fix whatever can be fixed without the developer's help.
Important note: the following scripts run eslint for all files. If you want to run it against a specific folder, replace . with the path to the folder, for example eslint src/.
Refer to the official documentation to find out more.
Prettier
Prettier is used to autoformat the code and to enforce an opinionated code formatting.
Usually, it's installed together with ESLint, which makes sure to keep my code style in a good shape.
Important note: we cover the installation process assuming that eslint is used.
To begin with, install prettier:
yarn add -D prettier eslint-plugin-prettier eslint-config-prettier
Having prettier installed, change .eslintrc config to include it:
{
  "env": {
    "browser": true,
    "jest": true
  },
  "root": true,
  "parser": "@typescript-eslint/parser",
  "parserOptions": {
    "ecmaFeatures": { "jsx": true }
  },
  "extends": [
    "eslint:recommended",
    "plugin:@typescript-eslint/eslint-recommended",
    "plugin:@typescript-eslint/recommended",
    "plugin:react/recommended",
    // Add prettier configuration here
    "prettier/@typescript-eslint",
    "plugin:prettier/recommended"
  ],
  "rules": {
    // Configure eslint rules
  }
}
Finally, create .prettierrc file in the root folder with the following content:
{
  "tabWidth": 2,
  "trailingComma": "all",
  "jsxSingleQuote": false,
  "singleQuote": true
}
That's it! Provided configurations can be changed according to your needs, feel free to check the official documentation to find out more.
Typescript Aliases
Take a look at the following code. Can you tell what's wrong with it?
import Header from "../../../components/Header";
import Content from "../../../components/Content";
import Footer from "../../../components/Footer";

import { formatDate } from "../../../utils/date";
Right, import statements look ugly, as we have to step out of the current folder 3 times to access the required components.
There's a good way to improve this - to use typescript aliases.
Typescript aliases are configured within tsconfig.json file.
It's necessary to provide paths and baseUrl properties to the compilerOptions:
{
   "compilerOptions": {
      ...
      "baseUrl": "src",
      "paths": {
        "@components/*": ["components/*"],
        "@utils/*": ["utils/*"]
      }
      ...
    }
  }
Now we can refactor the imports:
import Header from "@components/Header";
import Content from "@components/Content";
import Footer from "@components/Footer";

import { formatDate } from "@utils/date";
One more major benefit of this approach comes into play when we will refactor our components by moving them around.
We won't have to update any imports, as we would have to without using typescript aliases.
StoryBook
Storybook is a tool that enables developers to create components in isolation in an isolated development environment.
Any React component can be added to the storybook for showcasing purposes.
Install the tool by running:
yarn add -D @storybook/react
Then add a script to the package.json:
"storybook": "start-storybook -p 9000"
The script above starts the storybook on port 9000.
Finally, create the main storybook file .storybook/main.js, which tells Storybook where to find the stories:
module.exports = {
  stories: ['../src/**/*.stories.tsx'],
};
That will load all the stories underneath your ../src directory that match the pattern *.stories.tsx.
Take a look at the example story:
import React from 'react';
import { storiesOf } from '@storybook/react';

import Loader from './Loader';

storiesOf('Loader', module).add('default', () => <Loader />);
Run storybook:
yarn storybook
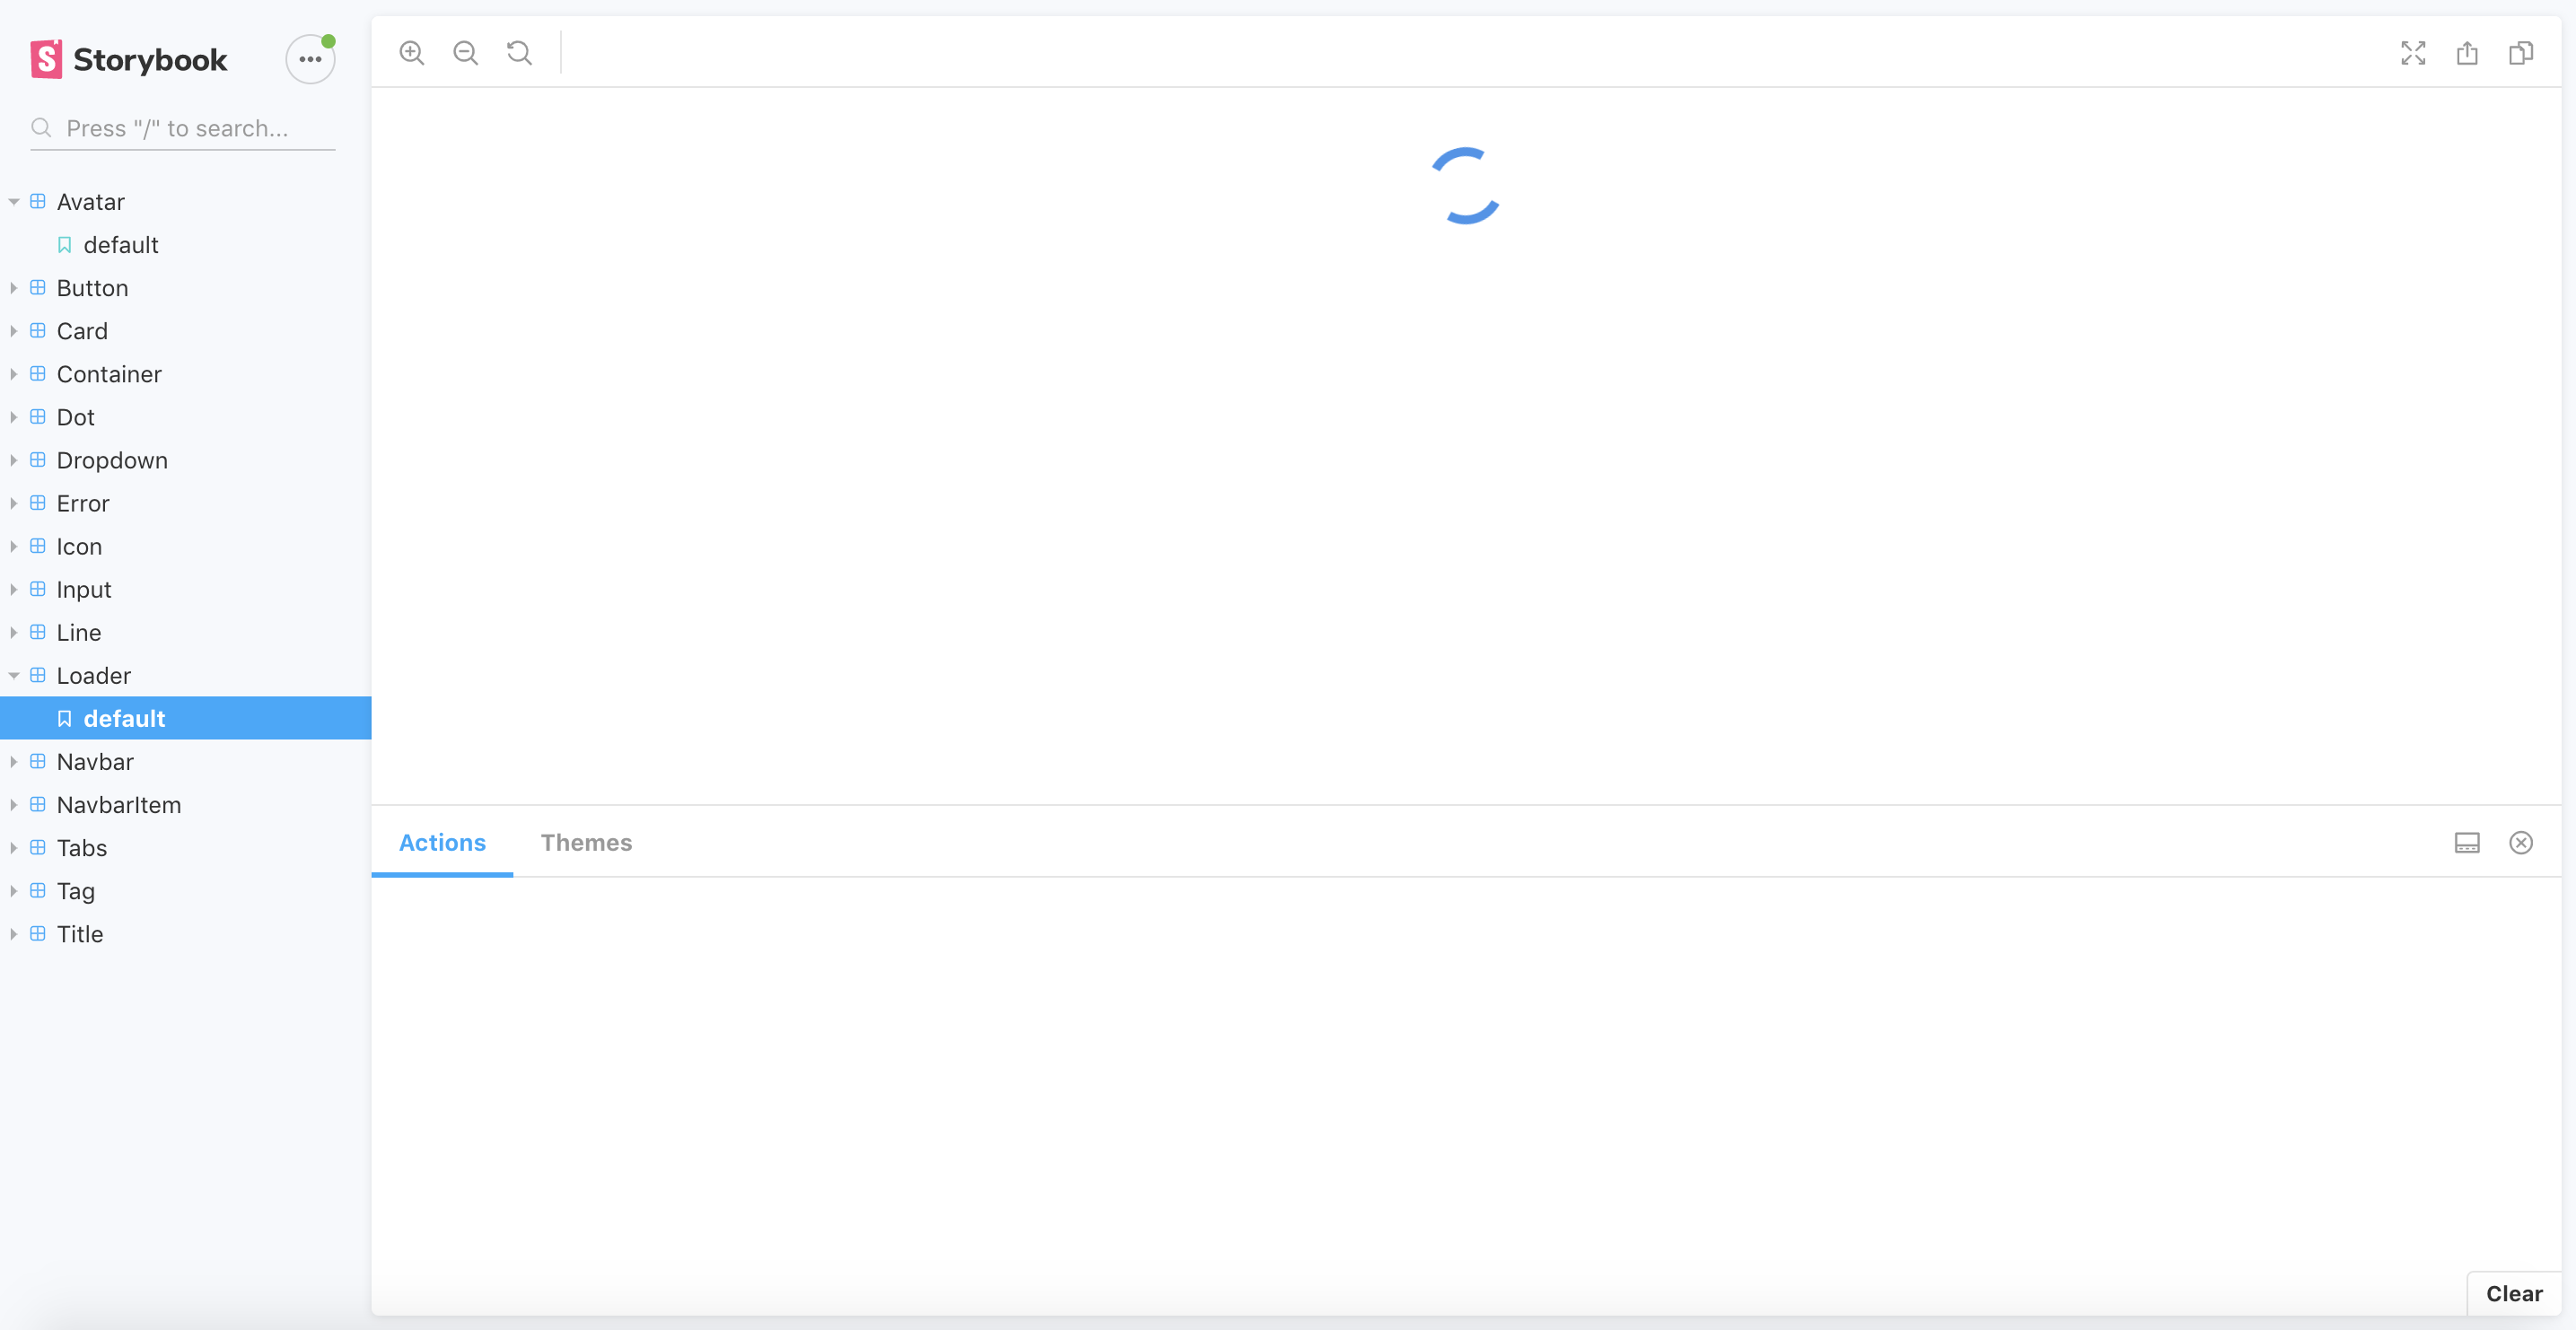
And see what you've just added:

Refer to the official documentation to find out more.
Axios
Axios - Promise based HTTP client for the browser and node.js.
To install the library, execute:
yarn add axios
Example GET request:
axios.get('/endpoint-url')
  .then(function (response) {
    // handle success
  })
  .catch(function (error) {
    // handle error
  });
It's possible to use async/await instead of Promise. Just remember to use try ... catch block to handle errors:
const example = async () => {
  try {
    const response = await axios.get('/endpoint-url');
    // handle success
  } catch (error) {
    // handle error
  }
};
Refer to the official documentation to find out more.
Redux
Redux is a library that allows us to manage an application's state easily and predictably.
Core concepts
- The application's state is a plain JavaScript object:
{
   users: [],
   pending: false,
   error: null
}- To change the state, you have to dispatch an action (which is a plain JavaScript object as well as the state):
// Fetch started
{
  type: "FETCH_USERS",
  payload: {
     offset: 0,
     limit: 10,
  },
}

// Fetch succeeded
{
  type: "FETCH_USERS_FULFILLED",
  payload: {
    users: [
      {
        id: 1,
        name: "John",
      },
    ],
  },
}

// Fetch failed
{
  type: "FETCH_USERS_REJECTED",
  payload: {
    error: "Something went wrong",
  },
}- To tie state and actions together, we use reducers (simple JavaScript functions which take state and action as arguments, and return the next state of the app):
const userReducer = (state, action) => {
  switch (action.type) {
    case "FETCH_USERS": {
      return {
        ...state,
        pending: true,
        error: null,
      };
    case "FETCH_USERS_FULFILLED": {
      return {
        ...state,
        pending: false,
        users: action.payload.users,
      };
    case "FETCH_USERS_REJECTED": {
      return {
        ...state,
        pending: false,
        users: [],
        error: action.payload.error,
      };
    default:
      return state;
  }
};
This is basically the whole idea of Redux.
Three principles
Redux can be described in three fundamental principles:
-
Single source of truth:
The global state of your application is stored in an object tree within a single store.
Store is an object that holds the application's state tree. There should only be a single store in a Redux app, as the composition happens on the reducer level.
-
State is read-only:
The only way the state can be changed is by firing an action.
-
Changes are made with pure functions:
To specify how the state tree is transformed by actions, you write pure reducers.
That's it. Now, after you know the core concepts and three principles, you should make an important decision whether your app needs redux or not, as installing and configuring it can be an overkill for a small project.
Always consider using alternatives, such as Context API.
Adding redux to the React application requires a lot of configurations, which are too heavy to be described in the current article.
Therefore, The installation guide REDUX + typescript is coming soon.
Refer to the REDUX and REACT-REDUX docs to find out more.
Cypress
Cypress - JavaScript end-to-end testing tool.
End-to-end testing is a technique that tests the entire software product from beginning to end to ensure the application flow behaves as expected
To install cypress, run:
yarn add -D cypress
After successful installation, add a new script to your package.json:
"test:e2e": "./node_modules/.bin/cypress open"
And, finally, run in your terminal:
yarn test:e2e
When you run Cypress for the first time, it will create cypress folder, which contains all configurations along with some default test examples and cypress.json configuration file.
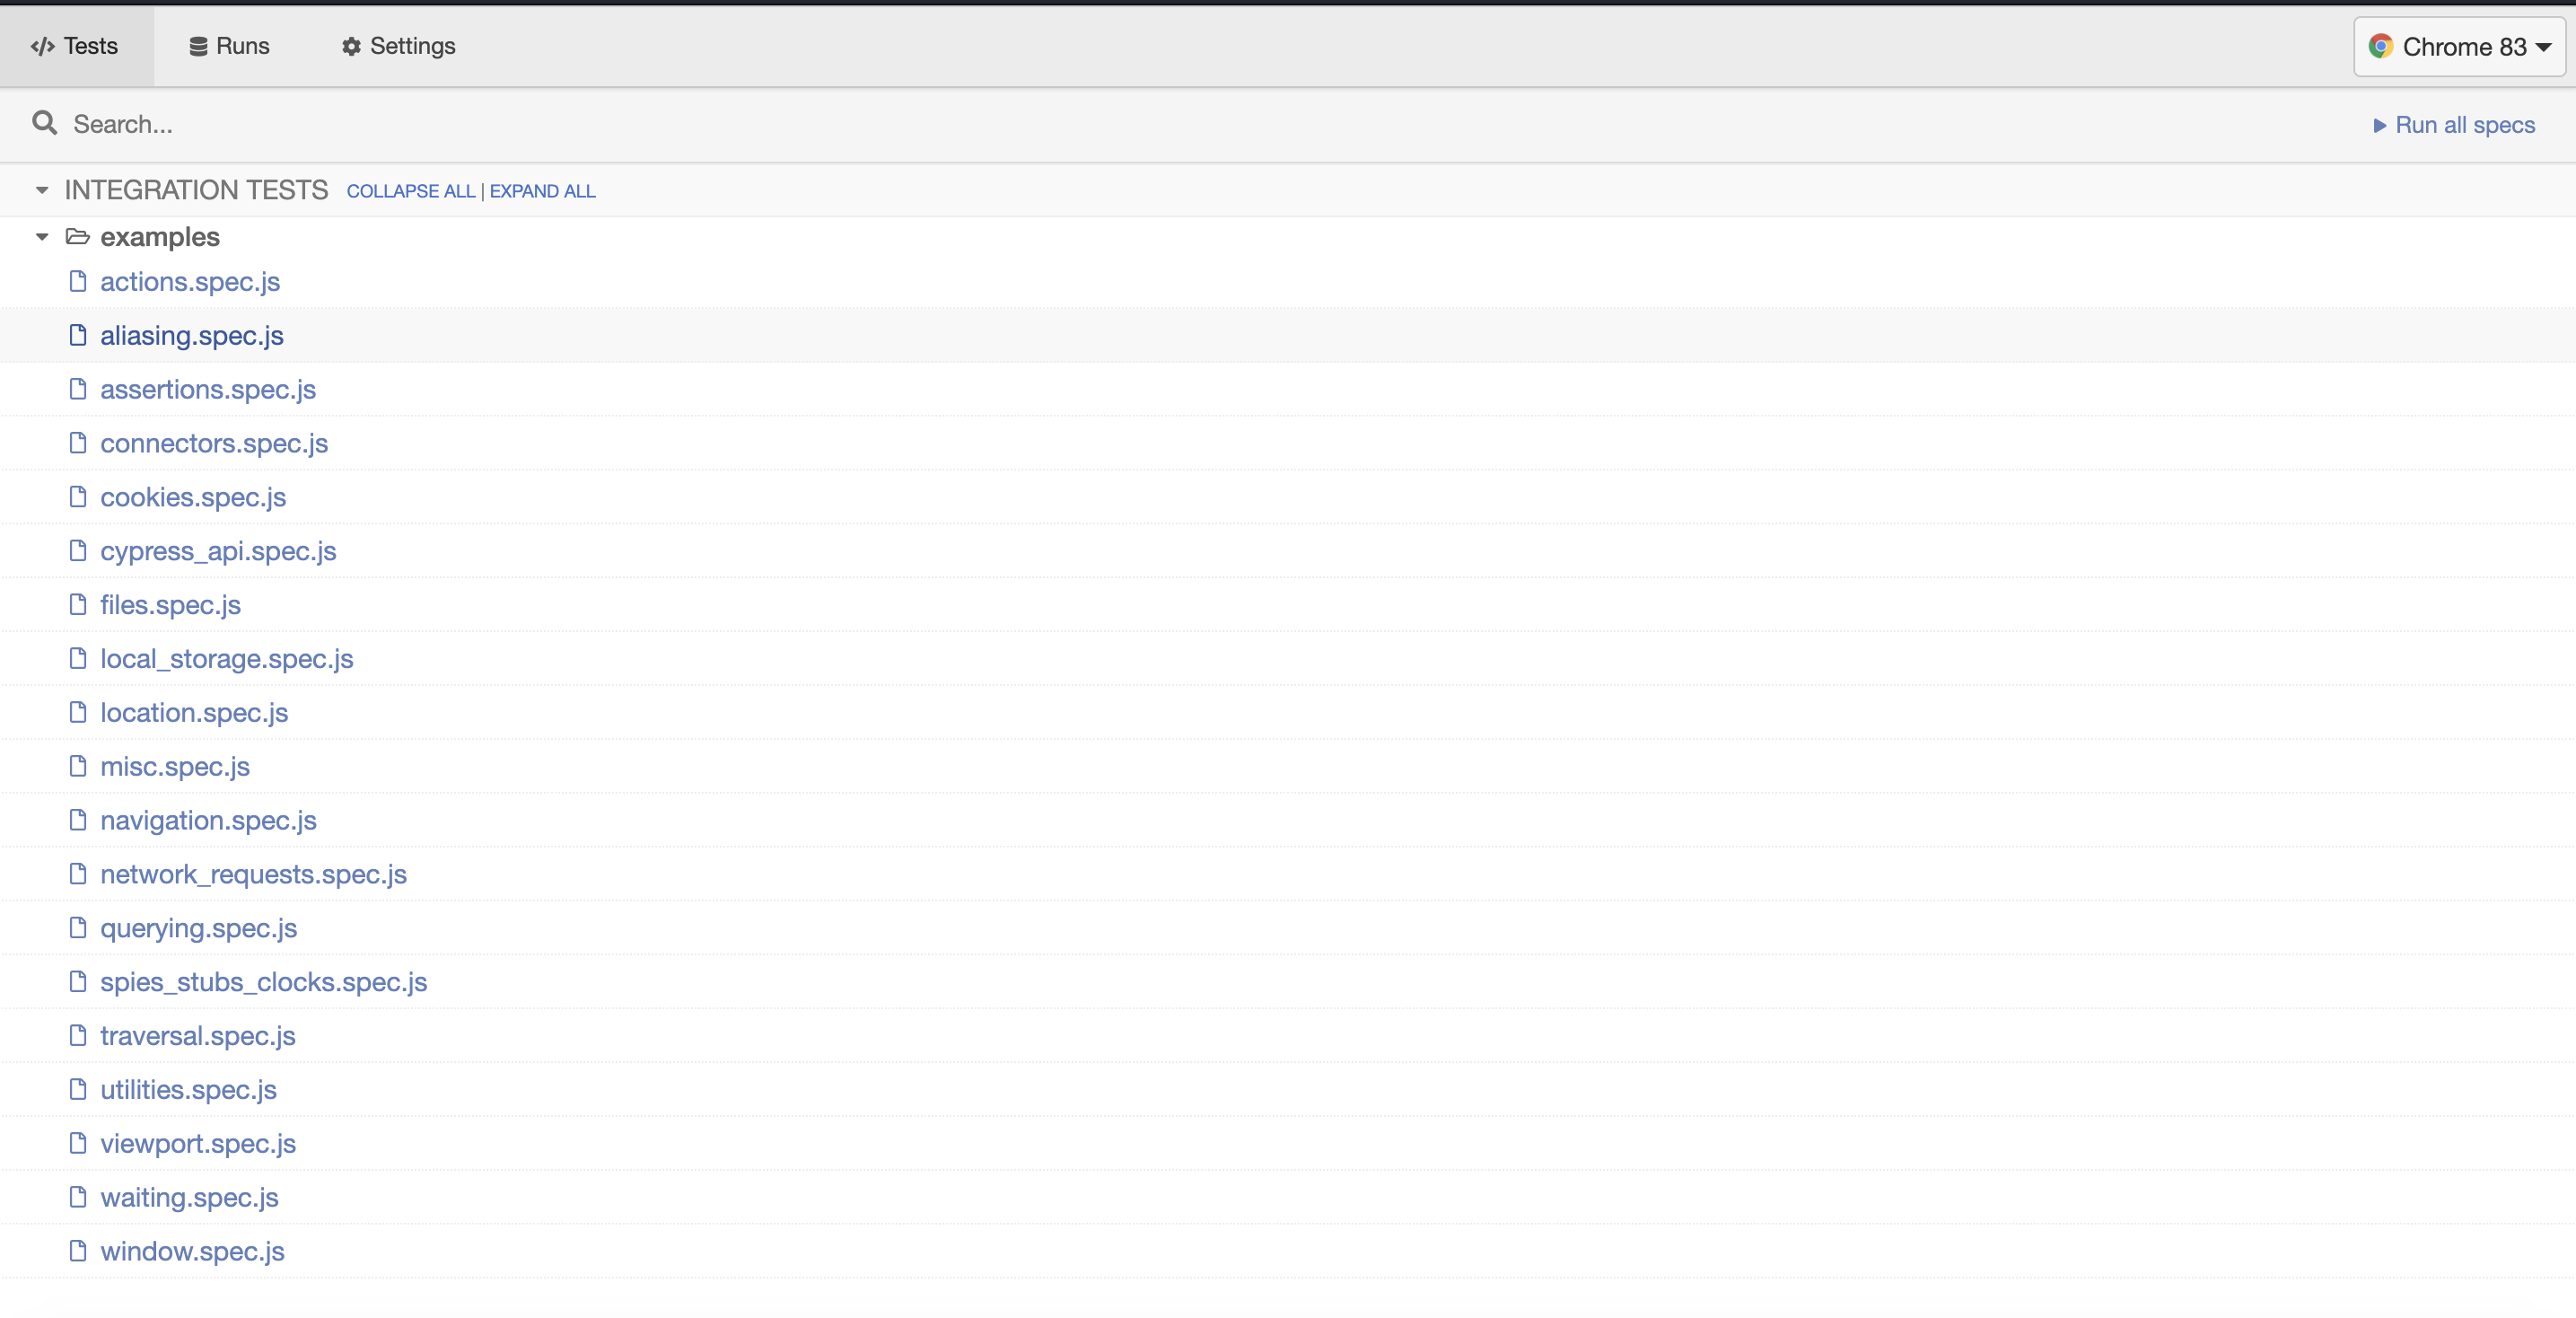
Finally, a new chrome window will be opened with some example tests:

Click on Run all specs button on the right top of the browser's window to check if they all pass.
Refer to the official documentation to find out more.
Husky
Husky is a tool that runs defined commands before git commit or push.
It can be used to execute linter or run all your tests before pushing changes to the repo, to make sure that you haven't broken anything unintentionally.
To install husky, run:
yarn add -D husky
Then open your package.json and create a separate block for husky config:
{
  "husky": {
    "hooks": {
      // Run linter and all tests before making a commit
      "pre-commit": "yarn lint && yarn test",
      // Run all tests before pushing changes to repo
      "pre-push": "yarn test",
      "...": "..."
    }
  }
}
Then try to commit anything or make a push to the repository and enjoy how the defined commands are being executed!
Refer to the official documentation to find out more.
React i18next
react-i18next is a powerful internationalization framework for React / React Native which is based on i18next.
It allows you to easily add multiple languages to your application.
Install it by executing:
yarn add i18next react-i18next
After the installation, create src/i18n.js configuration file with the following content:
import i18n from "i18next";
import { initReactI18next } from "react-i18next";

import enTranslations from "./translations/en.json";

i18n
  .use(initReactI18next)
  .init({
    resources: {
      en: {
        translation: enTranslations
      },
    },
    lng: "en",
    fallbackLng: "en",
    interpolation: {
      escapeValue: false
    }
  });

export default i18n;
After, import this src/i18next.js to the main file of your app (usually it's src/index.js:
import React from 'react';
import ReactDOM from 'react-dom';

import './index.css';

import App from './App';
import * as serviceWorker from './serviceWorker';

// Add this line
import './i18n';

ReactDOM.render(
  <React.StrictMode>
    <App />
  </React.StrictMode>,
  document.getElementById('root'),
);

// If you want your app to work offline and load faster, you can change
// unregister() to register() below. Note this comes with some pitfalls.
// Learn more about service workers: https://bit.ly/CRA-PWA
serviceWorker.unregister();
Then, create file src/translations/en.json with the following content:
{
  "app": {
    "greeting": "Hello, world!"
  }
}
react-i18next provides us with useTranslation hook, which gives us access to the t function, which is used to get the translation.
Your App component can look like:
import React from "react";
import { useTranslation } from 'react-i18next';

const App = () => {
  const { t } = useTranslation();

  return <h1>{t("app.greeting")}</h1>;
}

export default App;
t function receives the translation key as an argument and searches that key in the translation file.
Refer to the official documentation to find out more.
Moment.js
Moment.js is a JavaScript library that helps in parsing, validating, manipulating, and displaying date and time in JavaScript.
It's extremely useful if your app has to display date and time in different formats, using different languages, etc, as working with Date object in JavaScript is nowhere near as good as with moment.
Install it by executing:
yarn add moment
Refer to the official documentation to find out more.
Summary
React has an amazing ecosystem built around the library, which is, of course, not limited to the tools, described in this article.
But these tools offer great help for developers to successfully deliver React projects.
I recommend you to try all of them and see how would they help you.
What are your favorite React libraries? Let me know in the comments below!