Getting Started With React
Table Of Contents
React is a declarative, efficient, and flexible JavaScript library for building user interfaces. It lets you compose complex UIs from small and isolated pieces of code called “components”.
Library - is a file or project that contains some useful functions.
Why React?
There are a lot of benefits, but we'll take a look at the most important ones:
-
Easy to learn and use
React comes with a good supply of tutorials and great documentation as well as a big ecosystem and community.
-
Learn once, write anywhere
An experienced React developer can write native apps for Android and IOS using React Native framework.
-
Write once, use anywhere
In React you can create reusable components that help your code to be easier to maintain.
-
Implements Virtual DOM
React implements Virtual DOM which represents the real DOM as a JSON object and all operations on it are really fast.
-
Supports SSR(Server-side rendering) as well as CSR(Client-side rendering)
React can render both on server and client with minimum configurations.
-
Has great tools for developers
"React Developer Tools" is an extension for Chrome and Firefox that provides a set of inspection widgets to facilitate development.
If you're using Redux (state management library for React), you are provided with
redux-loggerlibrary which is great for debugging. -
React is popular
If you wonder whether to get your hands dirty with the new technology or not, try to find how many websites are using it. In the case of React, we have facebook, instagram, netflix, dropbox, codeacademy, etc.
Installing React
There are a couple of ways to create React application. Unless you are an experienced React developer, I recommend you always use the create-react-app tool which is developed and maintained by Facebook(as well as React itself).
It helps you to get started with coding without having to deal with some heavy configurations like webpack or babel.
Make sure to create a new folder for your React projects to store them in one place(I created /Users/volodymyrhudyma/Projects/blog) and enter that folder.
Important note: make sure to have NodeJS, npm, and npx installed before executing the following command. If you've previously installed create-react-app globally via npm or yarn, it's recommended to uninstall the package to ensure that npx always uses the latest version.
Within the newly created folder execute:
npx create-react-app my-first-app
This will take some time, usually about 20-30 seconds.
After successful installation open my-first-app in your favorite code editor and from the root folder execute:
npm start or yarn start
Important note: make sure to install yarn as well if you want to use it.
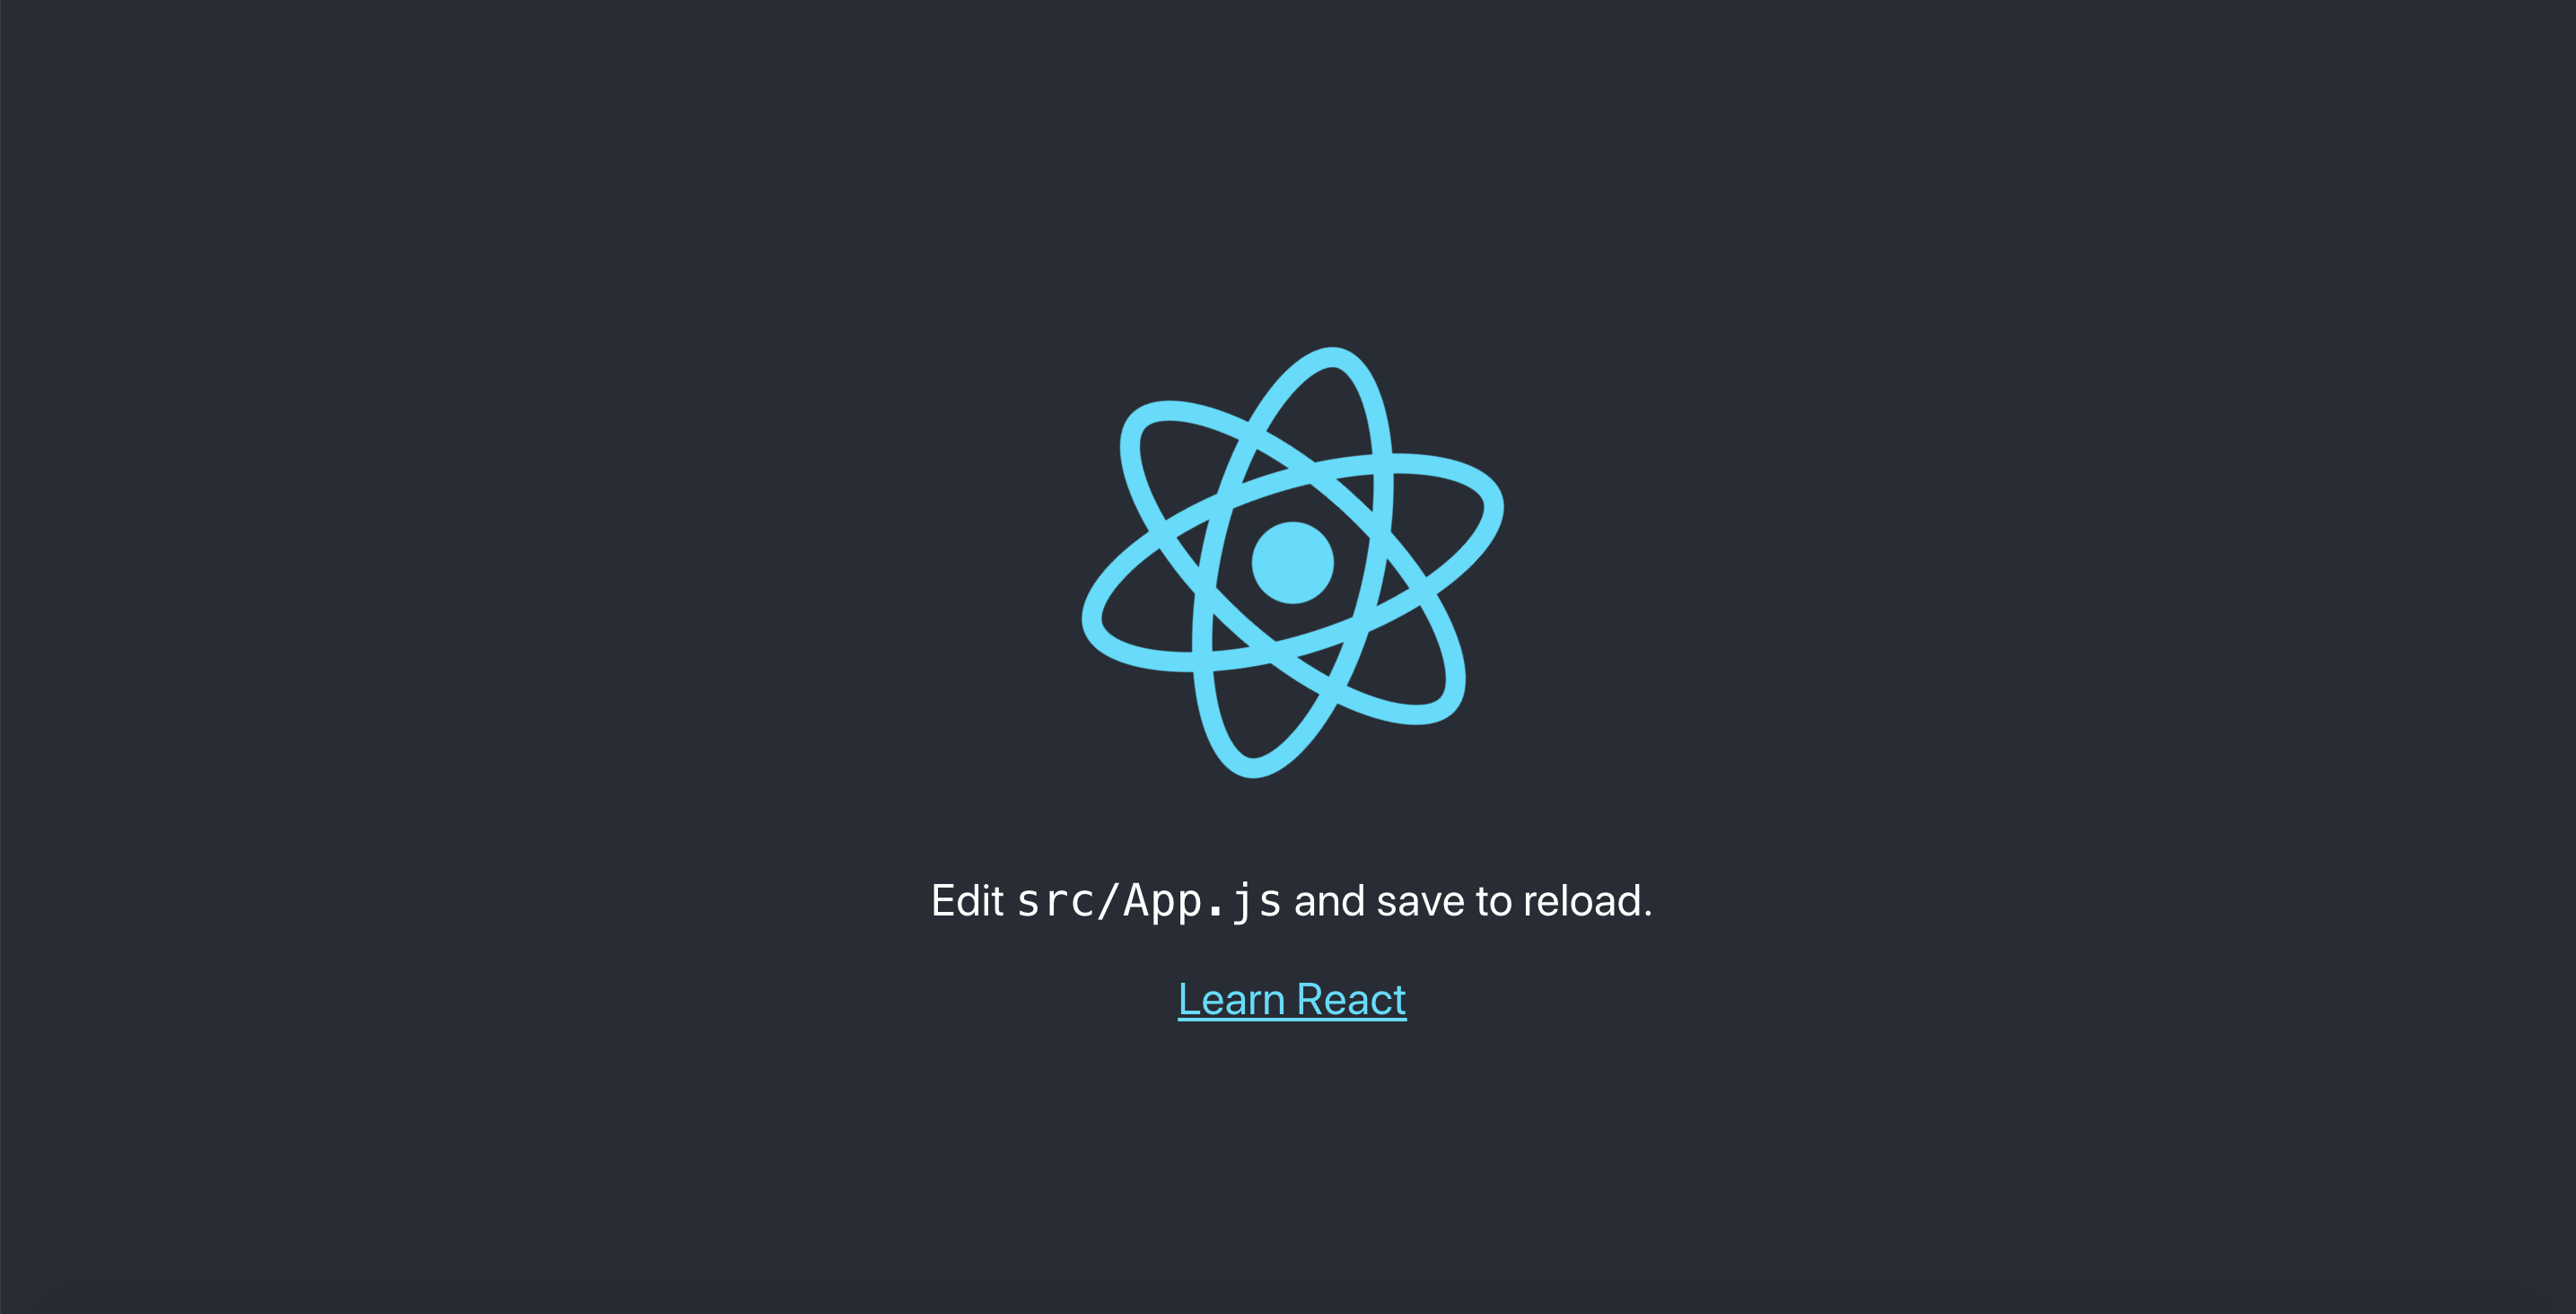
If everything went well, the browser will open http://localhost:3000/ and the first React application will be up and running:

Try to make any change in src/App.js file.
The change will be applied immediately, as the page will automatically reload if you make changes to the code.
Application's Structure
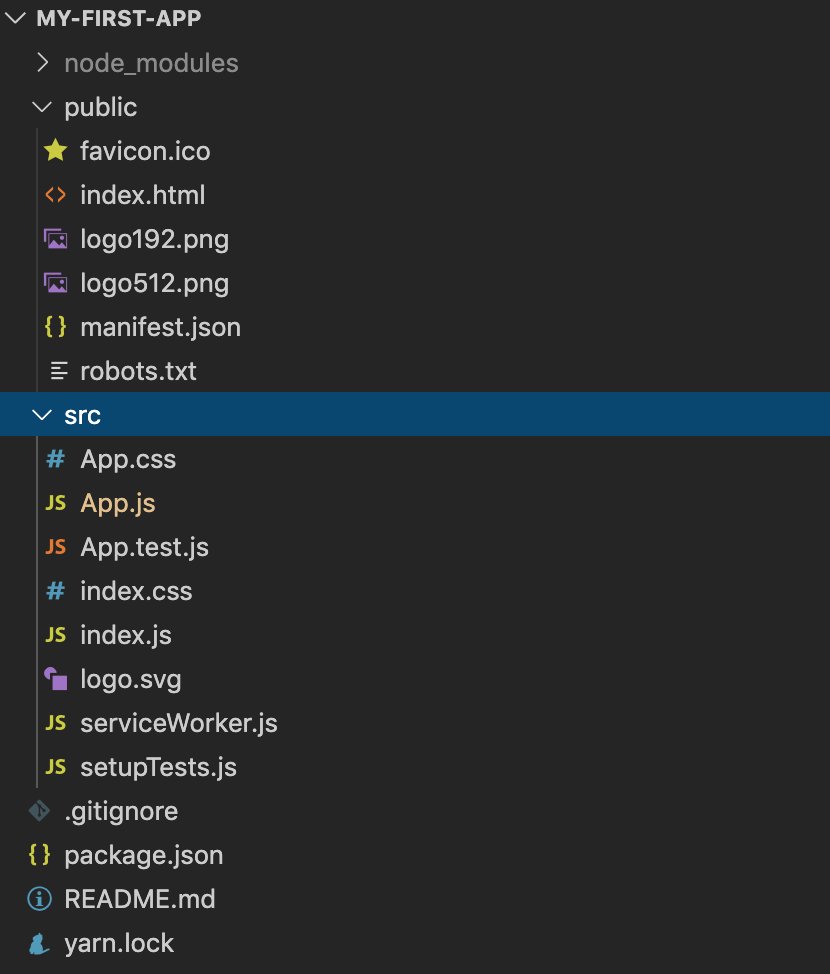
The structure of the created React application is the following:

Read more about it on the official page of create-react-app tool.
JSX
Just made your first change in src/App.js file? Awesome!
Important note: we will refer to the App.js file as App component.
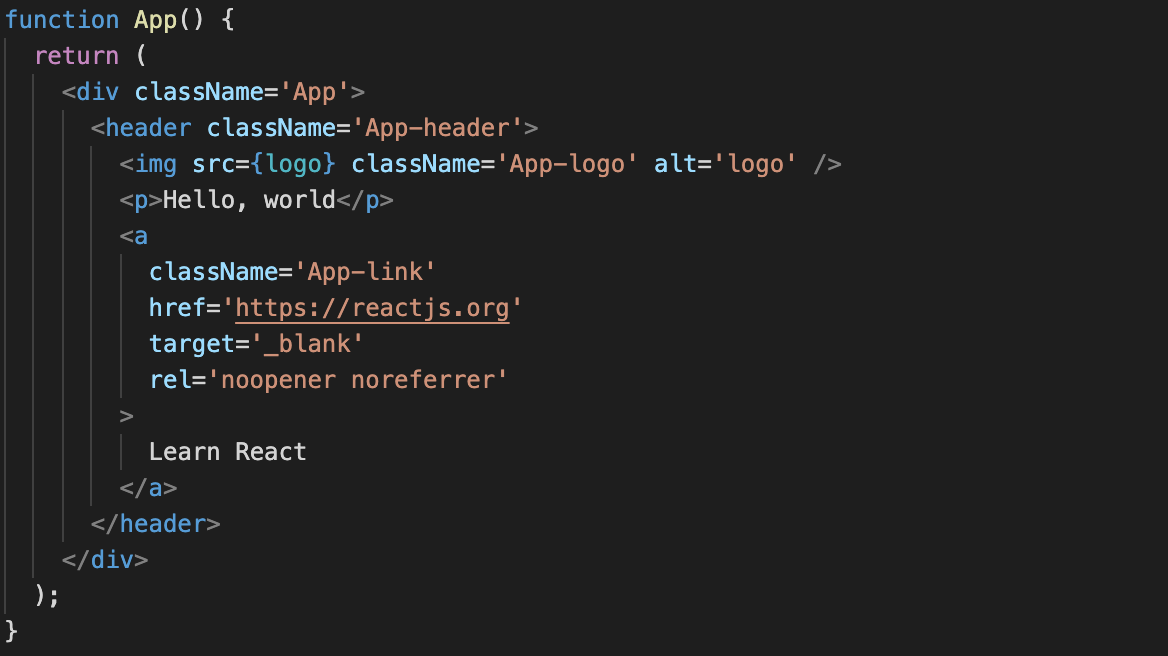
Have you noticed that App component is a mix of html and JavaScript?
This mix is called JSX.
Take a look at the return statement:

React uses JSX for templating instead of regular JavaScript.
Remember that it's not necessary to use it, however, using it gives you some benefits:
- It is fast because it performs optimization while compiling code to JavaScript
- It is type-safe and most of the errors can be caught during compilation
- It makes coding templates faster if you are familiar with HTML
In order to have a better understanding of JSX, let's take a look at the code without using it:
const heading = React.createElement("h1", { className: "heading" }, "An example without using JSX");;

ReactDOM.render(heading, document.getElementById("root"));
And with JSX:
const heading = <h1 className="heading">JSX example</h1>;

ReactDOM.render(heading, document.getElementById("root"));
Important note: className is used instead of class for adding CSS classes, as class is a reserved keyword in JavaScript.
Looks much easier, even when having simple h1 tag.
Class names in JSX
As we already mentioned, when defining class names, use className instead of class:
// Good
const heading = <h1 className="heading">JSX example</h1>;

// Bad
const heading = <h1 class="heading">JSX example</h1>;
Expressions in JSX
You are allowed to write any expression inside of the curly braces {}:
// Prints "This page has 20 articles"
const heading = <h1>This page has {10 + 10} articles</h1>;
Properties and methods in JSX
Properties and methods in JSX are written by using camel case - onclick becomes onClick:
const button = <button onClick={clickHandler}>Click me</button>;Components
Almost everything in React is a component. Think about components as of functions, which accept input (props) and return some output (React elements which describe what should be drawn on the screen).
There are mainly 2 types of components in React: class and functional components.
Class components
Let's begin with an example of a simple class component:
import React from "react";

class Title extends React.Component {
  render() {
    return <h1 className="title">Title</h1>;
  }
}

export default Title;
Class components make use of ES6 classes and extend the React.Component class.
Important note: export default Title in the example above exports Title to other modules, so this component can be imported using the following syntax: import Title from "./Title".
Functional components
Let's refactor Title class component to the functional:
import React from "react";

const Title = () => {
  return <h1 className="title">Title</h1>;
};

export default Title;
Functional components are basic JavaScript functions.
These are typically arrow functions but can also be created with the regular function keyword:
import React from "react";

function Title() {
  return <h1 className="title">Title</h1>;
};

export default Title;
Props
React props are like function arguments for components. They are passed to components via HTML attributes.
Important note: props are read-only.
React’s data flow between components is uni-directional - from parent to child only.
In the following example, we have App component which renders Title component using given title passed as a prop:
import React from "react";

const Title = (props) => {
  return <h1 className="title">{props.title}</h1>;
};

const App = () => {
  return <Title title="Hello, world" />;
};

export default App;
State
State is built-in object which allows component to manage it's own data.
The difference between props and state - props get passed to component, state is managed within component:
import React from "react";

class App extends React.Component {
  constructor() {
    this.state = {
      number: 1,
    };
  }
  render() {
    return <div>{this.state.number}</div>;
  }
}

export default App;
How to modify state?
One important rule should be remembered: state can't be updated directly, but only via setState function:
import React from "react";

class App extends React.Component {
  constructor() {
    this.state = {
      number: 1,
    };
  }
  handleClick = () => {
    this.setState({
      number: 2,
    });
  };
  render() {
    return (
      <div>
        <div>{this.state.number}</div>
        <button onClick={this.handleClick}>Change number</button>
      </div>
    );
  }
}

export default App;
In the example above, when the user clicks on button element, component's state gets updated and component is re-rendered with the new data.
Basically, setState method triggers the re-rendering process.
Can I use state in a functional component?
You have probably noticed that both previous examples were using class components.
That's for a reason - in earlier React versions, function components didn't give us a possibility to define state inside of them.
That's why they were known as stateless in the past.
But now, after the introduction of React hooks, we're allowed to use state inside of functional components as well.
Example:
import React, { useState } from "react";

const App = () => {
  const [number, setNumber] = useState(1);

  const handleClick = () => {
    setNumber(2);
  };

  return (
    <div>
      <div>{number}</div>
      <button onClick={handleClick}>Change number</button>
    </div>
  );
};

export default App;
Don't worry if something is not clear yet, we'll cover React hooks in detail later.
Summary
We've only covered very basic React concepts, but you should have an overview of it. It's hard to decide whether this technology meets your expectations having finished reading just one small article.
That's why in the next posts we are going to build a simple application using React and learn its more advanced features.
- React is a declarative, efficient, and flexible JavaScript library for building user interfaces. It lets you compose complex UIs from small and isolated pieces of code called “components”
- The best way to create React application for beginners is to use
create-react-apptool - React uses JSX syntax
- React has mainly 2 component types: class and functional components
- Props are component's parameters
- State is a built-in object which allows the component to manage its own data
- In the newest versions of React state can be used in both, class and functional components